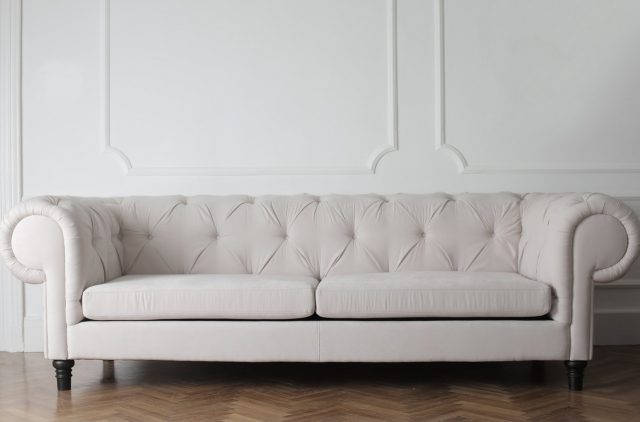
Repairing, renovating or upcycling furniture is becoming more and more popular. It’s fun and gives you a huge sense of satisfaction when you’re finished.
This guide to a beginner’s upholstery tools is a great starting point if you’re looking to start upholstery as a hobby, or just have a few DIY jobs around the house.
It’s an ever more common scenario. There are a few shabby chairs that you want to tackle yourself, or you’re thinking about covering a chair and you’ve always wanted to give upholstery a go.
As with all things, starting out with the right tools can be the difference between success and failure; the difference between having fun and wanting to take part in defenestration (that is, throwing the chair through a window).
What Upholstery Tools Do I Need?
It’s likely that if you’re an absolute beginner you might not even be aware of what tools you need. That hammer in your toolbox will do the trick right? Taking a piece of furniture apart with a regular hammer will likely damage the wood and you’ll be heading for the dump, not the upholstery store.
You need a rubber mallet for that job.
When it comes to building up your upholstery tools collection, what is it that you need? Let’s look at some basic tools.
- Magnetic Hammer
For banging in pins and tacks you’ll need a good tack hammer and opting for a magnetised one helps keep those tiny pins where you want them.
- Webbing Strainer or Webbing Stretcher
If you are replacing the webbing on a seat you’ll need a webbing stretcher. You could try and do it by hand but a webbing stretcher or strainer is much easier and means you’ll get the right tension. There are a few versions about. Some have spikes on that stick through the webbing, others let you loop it through the tool and attach a dowel to keep it in place. They work on the same principle though. The tool acts as a lever to create the tension, allowing you to fix the webbing in place.
- Staple Remover/Needle Nose Pliers/Tack Lifter/Claw Tool/Ripping Chisel
Basically, a tool like this is crucial for removing staples. Pliers are important for getting out those broken staples. Don’t be tempted to gouge out the staple with a flathead screwdriver, you’ll hate the damage it causes.
These tools will help remove any old staples, tacks and fabrics and get the surface of the wood ready to be prepared for reupholstering. Ripping chisels help to make a difficult job much easier.
- Rubber Mallet
As mentioned, a hammer designed to bang in nails will leave lasting damage on wood. Even if it’s wrapped in cloth you still risk destroying those classic lines on your furniture. It’s always handy to have a rubber mallet anyway. You never know when you’ll need to put up a tent.
- 8” or 10” Upholstery Needles
It’s like sewing but on a tougher scale. Upholstery needles are made from steel so can go through a range of materials when regular clothes-stitching needles would give in. Some are curved, some are straight. You might find it useful to have a few types in your toolbox depending on what you need.
- 8” or 10” Upholstery Regulator
A bit like a needle, an upholstery regulator is useful when the stuffing isn’t playing ball. Rather than undo the stitching work in a cushion to adjust the stuffing, you can use a regulator by inserting it through the cushion and moving the stuffing around to where you want it. A really good tool to have in your toolbox.
- Straight Blade Scissors
Not fancy but needed to cut the material. A good pair of scissors just helps make the little things easier.
- Heavy Duty Apron
Simple extra protection.
Final Thoughts
To get started you only need a handful of tools. There are also many starter kits on the market ranging from around £40 upwards, depending on what’s in them. You could also decide what tools you need based on the job you’re tackling. But the important thing is to make sure you get the right tools. Not only will it make life easier, you stand much less chance of damaging the furniture that you want to refurbish.


